

I decided to start by wearing OPI Solitaire. Once I had it on, zebra print immediately popped into my head. The design used is off of one of the large Cheeky plates, Jumbo Plate 12, and I stamped using Konad Special Polish in black. Solitaire went on very smoothly. I used three coats total. It took a little while to finish all three coats, but that's only because I waited as long as I could stand to wait between coats, to make sure the polish had dried as much as possible and that the texture was really set in.


Not only did the texture of the polish make the zebra print look pretty damn cool, I think the color was perfect for this. Solitaire is white but not so in-your-face as a pure white polish. It seemed to make the zebra print look more realistic.

I wore this mani for a week and then I decided to follow it up with leopard print, of course. This time, the base color was OPI Honey Ryder. 3 coats total for Honey Ryder as well, but it dried much faster for me than Solitaire did. The leopard print was from Konad plate m57. I did a few test stamps first and thought stamping with black polish looked like too much of a contrast, and not really the look I was going for. The Konad Special Polish in brown, however, stamped way too light over Honey Ryder and I didn't have any other brown polishes that would have worked well to stamp with. I ended up experimenting and plopped a blob of brown Konad polish down next to the leopard design and then, mixing it with a toothpick, I added just a tiny drop of the black Konad polish. Once they were mixed well, I used my scraper to push the polish to the edge of the leopard design and then scraped across like normal. To finish the look, I filled in about half of the leopard spots with a little bit of OPI San Tan-Tonio.

It sounds a little time consuming...ok, really time consuming...but it honestly didn't add much time at all to my normal stamping routine. And it was completely worth, because it was turned out exactly the way I had pictured it in my head.
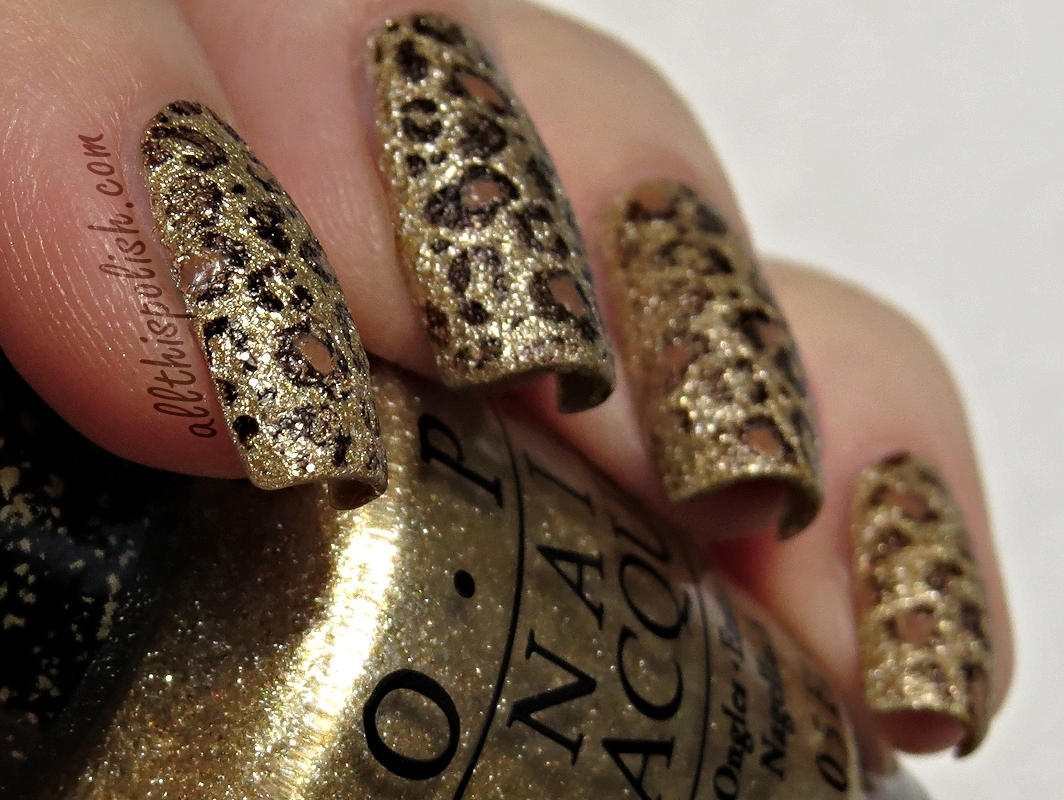

I can't believe it took me so long to try zebra and leopard nails. Actually, I did attempt leopard print nails once before, but it was this awkward combination of a sage green polish and black and brown leopard print that looked more camouflage than leopard in the end and...ya, let's just not go there. This gold leopard print totally kicked that green leopard's ass. ;)
No comments:
Post a Comment